
Image Prediction - How to Use Your Own Datasets
This tutorial demonstrates how to use AutoGluon with your own custom datasets. As an example, we use a dataset from Kaggle to show the required steps to format image data properly for AutoGluon.
Step 1: Organizing the dataset into proper directories
After completing this step, you will have the following directory structure on your machine:
data/
├── class1/
├── class2/
├── class3/
├── ...
Here data is a folder containing the raw images categorized into
classes. For example, subfolder class1 contains all images that
belong to the first class, class2 contains all images belonging to
the second class, etc. We generally recommend at least 100 training
images per class for reasonable classification performance, but this
might depend on the type of images in your specific use-case.
Under each class, the following image formats are supported when training your model:
JPG
JPEG
PNG
In the same dataset, all the images should be in the same format. Note that in image classification, we do not require that all images have the same resolution.
You will need to organize your dataset into the above directory structure before using AutoGluon. Below, we demonstrate how to construct this organization for a Kaggle dataset.
Example: Kaggle dataset
Kaggle is a popular machine learning competition platform and contains lots of datasets for different machine learning tasks including image classification. If you don’t have Kaggle account, please register one at Kaggle. Then, please follow the Kaggle installation to obtain access to Kaggle’s data downloading API.
To find image classification datasets in Kaggle, let’s go to
Kaggle and search using keyword
image classification either under Datasets or Competitions.
For example, we find the Shopee-IET Machine Learning Competition
under the InClass tab in Competitions.
We then navigate to Data to download the dataset using the Kaggle API. Please make sure to click the button of “I Understand and Accept” before downloading the data.
An example shell script to download the dataset to ./data/shopeeiet/
can be found here:
download_shopeeiet.sh.
After downloading this script to your machine, run it with:
import autogluon.core as ag
ag.download('https://raw.githubusercontent.com/zhanghang1989/AutoGluonWebdata/master/docs/tutorial/download_shopeeiet.sh')
!sh download_shopeeiet.sh
Now we have the desired directory structure under
./data/shopeeiet/train/, which in this case looks as follows:
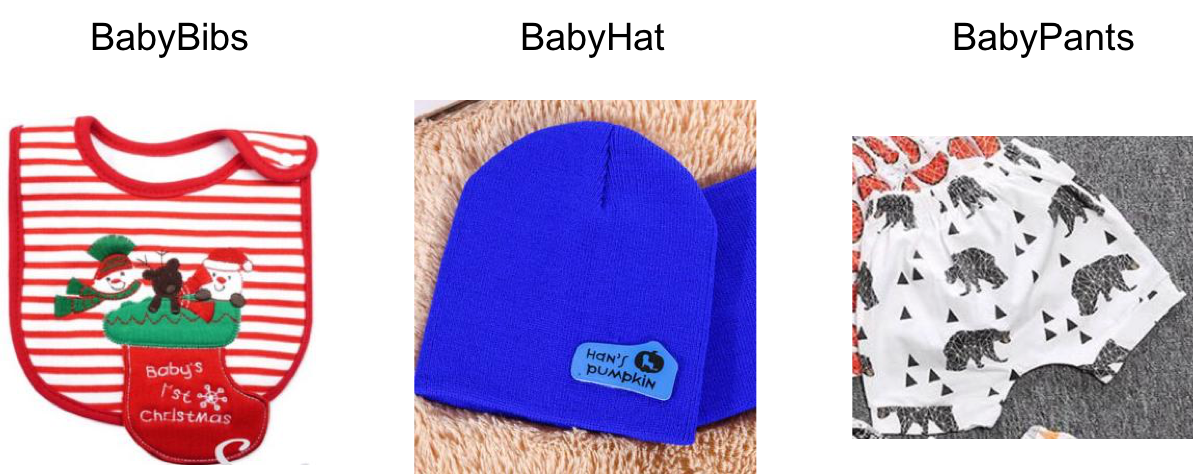
shopeeiet/train
    ├── BabyBibs
    ├── BabyHat
    ├── BabyPants
    ├── ...
shopeeiet/test
    ├── ...
Here are some example images from this data:
Step 2: Split data into training/validation sets
A fundamental step in machine learning is to split the data into disjoint sets used for different purposes.
Training Set: The majority of your data should be in the training set. This is the data use to train your model: data is used to learn the parameters of the model, namely the weights of the neural network classifier.
Validation Set: A separate validation set (sometimes also called the dev set) is also used during AutoGluon’s training process. While neural network weights are updated based on the training data, each neural network requires the user to specify many hyperparameters (e.g., learning rates, etc.). The choice of hyperparameters greatly impacts the training process and resulting model. AutoGluon automatically tries many different values of these hyperparameters and evaluates each hyperparameter setting by measuring the performance of the resulting network on the validation set.
Test Set: A separate set of images, possibly without available labels. These data are never used during any part of the model construction or learning process. If unlabeled, these may correspond to images whose labels we would like to predict. If labeled, these images may correspond to images we reserve for estimating the performance of our final model.
Automatic training/validation split
AutoGluon automatically does Training/Validation split:
from autogluon.vision import ImagePredictor
dataset = ImagePredictor.Dataset.from_folder('./data/shopeeiet/train')
AutoGluon automatically infers how many classes there are based on the directory structure. By default, AutoGluon automatically constructs the training/validation set split:
Training Set: 80% of images.
Validation Set: 20% of images.
where the images that fall into the validation set are randomly chosen from the training data based on the class.
Step 3: Use AutoGluon fit to generate a classification model
Now that we have a Dataset object, we can use AutoGluon’s default
configuration to obtain an image classification model using the
`fit <../../api/autogluon.predictor.html#autogluon.vision.ImagePredictor.fit>`__
function.
Due to the large size of the Kaggle dataset, calling fit without
specifying a time limit may result in long waiting times. Run the
following commands to run fit using a time limit:
time_limit = 10 * 60 # 10mins
predictor = ImagePredictor()
predictor.fit(dataset, time_limit=time_limit)
The top-1 accuracy of the best model on the validation set is:
print('Top-1 val acc: %.3f' % predictor.fit_summary()['valid_acc'])
Using AutoGluon to Generate Predictions on Test Images
We can ask our final model to generate predictions on the provided test
images. We first load the test data as a Dataset object and then
call predict:
test_dataset = ImagePredictor.Dataset.from_folder('./data/shopeeiet/test')
pred = predictor.predict(test_dataset)
print(pred)
Here are the results of AutoGluon’s default fit and predict
under different time_limit when executed on a p3.16xlarge EC2
instance:
The validation top-1 accuracy within 5h is 0.842, and ranks 14th place in Kaggle competition.
The validation top-1 accuracy within 24h is 0.846, and ranks 12th place in Kaggle competition.
The validation top-1 accuracy within 72h is 0.852, and ranks 9th place in Kaggle competition.
Step 4: Submit test predictions to Kaggle
If you wish to upload the model’s predictions to Kaggle, here is how to convert them into a format suitable for a submission into the Kaggle competition:
import autogluon.core as ag
ag.utils.generate_csv(pred['id'].tolist(), './submission.csv')
This produces a submission file located at: ./submission.csv.
To see an example submission, check out sample submission.csv at
this link:
Data.
To make your own submission, click
Submission
and then follow the steps in the submission page (upload submission
file, describe the submission, and click the Make Submission
button). Let’s see how your model fares in this competition!